Materials: Wax Paper; Charmin Ultra Strong Toliet Paper; Green, Red, White, Black Paint; and Paint brushes
1. Layer a rectangle of toliet paper on a piece of wax paper. This layer can be as thick as you wish for it to be. I would not go over 1/8 of an inch.
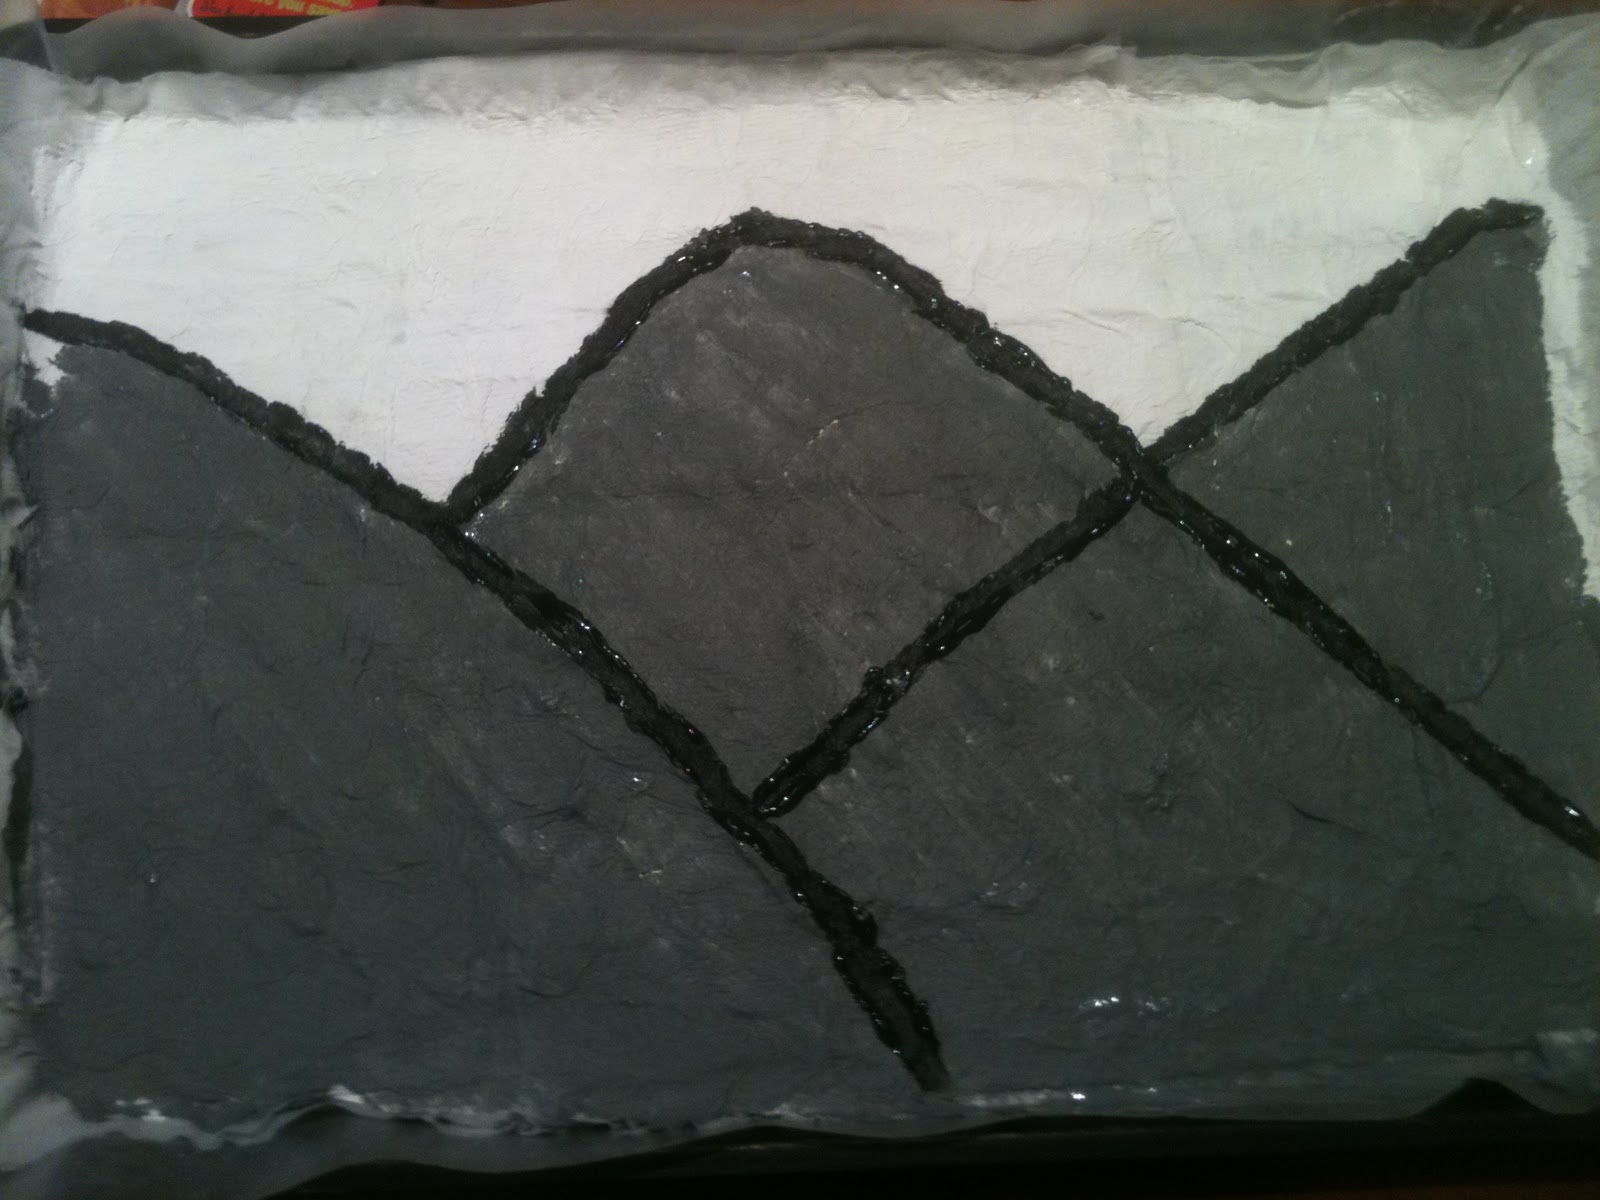
2. Paint all of the toliet paper white. After this dries, take your black paint and draw mountains on it. Be creative with your mountains! Then paint your mountains a grey (mix white and black). The white at the top of the mountains indicates snow in the background. You can have as many mountains as you wish!
3. Tear off a small piece of wax paper. Here you are going to take about 6 pieces of toliet paper and fold them up the size of one. Dip the paper in water. You will fold the corners of the toliet paper in until you make a point. This will be the top of your tree. You will do the bottom piece the same way, but larger. Then take two piece of toliet paper and fold up to make a trunk for the tree. I made two trees, but you can have students make as many trees as they wish. Paint the trees green while they are still wet.
4. Make little balls with the toliet paper. These will be your berries. Paint these red and let them dry.
5. Once your trees have dried, place them on your mountains one piece at a time, starting with your trunk, and hot glueing them as you place them on. After placing these, hot glue the red berries onto the trees. If you wish, you can add green paint to the bottom of the mountains to illuminate vegatation.
This is a good project to complete this time of the year. It is simple, yet very fun and creative for the students to complete! It may be a three day project for younger students! Good luck!


No comments:
Post a Comment