Pages

Monday, November 21, 2011

Quilt Collage By Misty O.

Quilt Collage


This art activity can be incorporated into Social Studies topics such as Early Colonial America or Thanksgiving. Other subjects and lesson ideas are: Math - shapes, Science - recycling, English - quilt stories or poems. This would make an excellent group activity to help students with social skills as well. By placing students in groups to make quilts in "quilting bees" they can learn to work together. 

Materials Needed:

- 12 x 12 Scrapbook paper or cardstock ( 1 per quilting square)
- Scissors
- Glue or glue sticks
- Yarn
- Classroom scrap paper ( construction paper, tissue paper, magazine, wallpaper samples etc.)
- 3-hole punch
- Edging scissors, special shape hole punches, ruler (optional)

Procedures:

Give your classroom a common theme to unify the quilt. Sample ideas are listed above.

- Have students have a design in mind that goes along with the theme. My theme is Thanksgiving/Early Colonies.

- Each student receives a scrapbook sheet.

- Have students border the sheet using strips from the scraps of paper. Edging scissors may be used to give some texture to the design.


- Students should cut out various shapes and forms to make their design.Stress to use complimentary colors. ( refer to the color wheel)

- Have students place their different shapes or forms first before they glue them down in the center.


- Once everyone has completed their squares have students help with the placement of the squares. Look for similiarities and differences with shapes, colors, or designs that will help create interest in the quilt. 


- Once squares are in place use a 3-hole punch ONLY on the inward border strips of the quilt. You will NOT need holes punched on the outside edge of the whole quilt unless you want yarn tied there as well.


- Punch holes as even as possible to the squares above or beside it. (You can use a ruler if you'ld like, but I just "eyeballed" it.)

- Cut pieces of yarn and double knot it taunt, but not so tight that it pulls the sheets on top of one another.


 Your quilt collage is now ready to hang!

Friday, November 18, 2011

Toilet Paper Sculpture by: Melanie Payne

This is a project you could incorporate into your classroom when you are discussing Thanksgiving and the pilgrims.  You could have your students make a Thanksgiving feast and have them dress up like pilgrims.  You could also use this if discussing nutrition or foods from different cultures.


Materials:

Charmin Ultra Strong Toilet Paper
Tempera Paint
Paint Brushes
    Water
Styrofoam Plate

Steps:
Loosely fold up toilet paper and dip in water.  Gently squeeze out excess water.  Shape into desired figure.  Mix paint to desired color and paint while wet.  Set aside to dry.  For steak, use a box to shape then wrap using wet toilet paper.  Mix colors and paint while wet.  Once all pieces are dry, hot glue on the plate.


Amanda Moore-Planeteers Capes

Materials You  Will Need:

-One Bottle of Paint for Each Primary Color (Red, Yellow, Blue).
-One white t-shirt
-Trash bags to cover the table.
-Green puffy paint (one small bottle will do).
-3 paper plates for dispensing paint and mixing paint.

Painting:

Step One: Tape a trash bag across the table to keep the paint from getting on the table. Lay the t-shirt across the trash bag with the back facing up.
Step Two: Put yellow, red, and blue pain on 3 paper plates (one color per plate).
Step Three: Allow the child to put a hand print in the center of the shirt facing horizontally across the shirt, any color will do.
Step Four: Have the child then put a hand print at an angle on each side of the first hand print, forming a triangle. The two hand prints should be in the two remaining colors.

Step Five: Write or have the child write “Planeteers” across the length of the top of the t-shirt.

Step Six: Have the child then decorate the shirt using the remaining paint. Mixing is allowed to create the secondary color (Orange, Green, and Purple).


Step Seven: Allow the shirt to dry over night.

Cutting:
Step One: To turn the t-shirt into a cape, estimate where the child’s collar bone would be in the shirt.
Step Two: Cute a straight line down each side of the front of the t-shirt where the child’s collar bone would be. BE SURE TO KEEP THE COLLAR OF THE SHIRT INTACT.
Step Three: I left the sleeves in his cape so the cape will stay balanced on his shoulders and not get twisted. This is optional.
Congratulations! You have now successfully created a "Planeteers" cape. 

Thursday, November 17, 2011

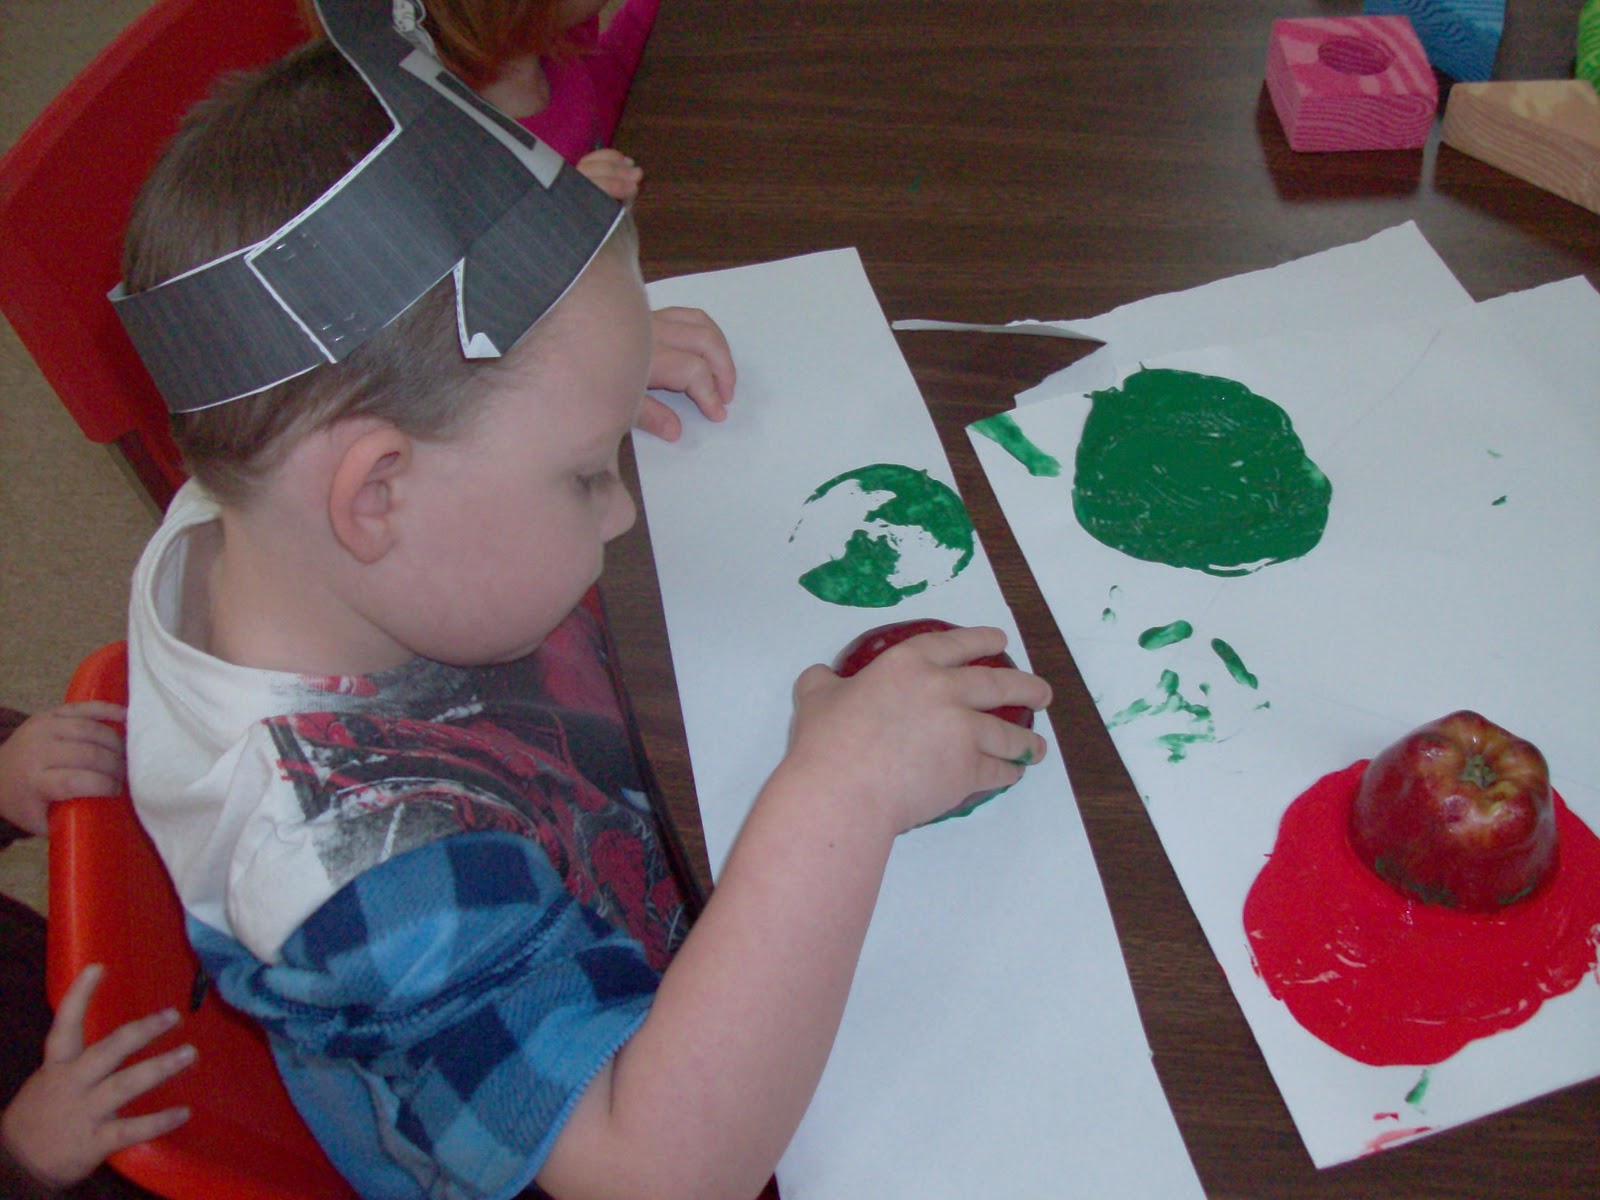
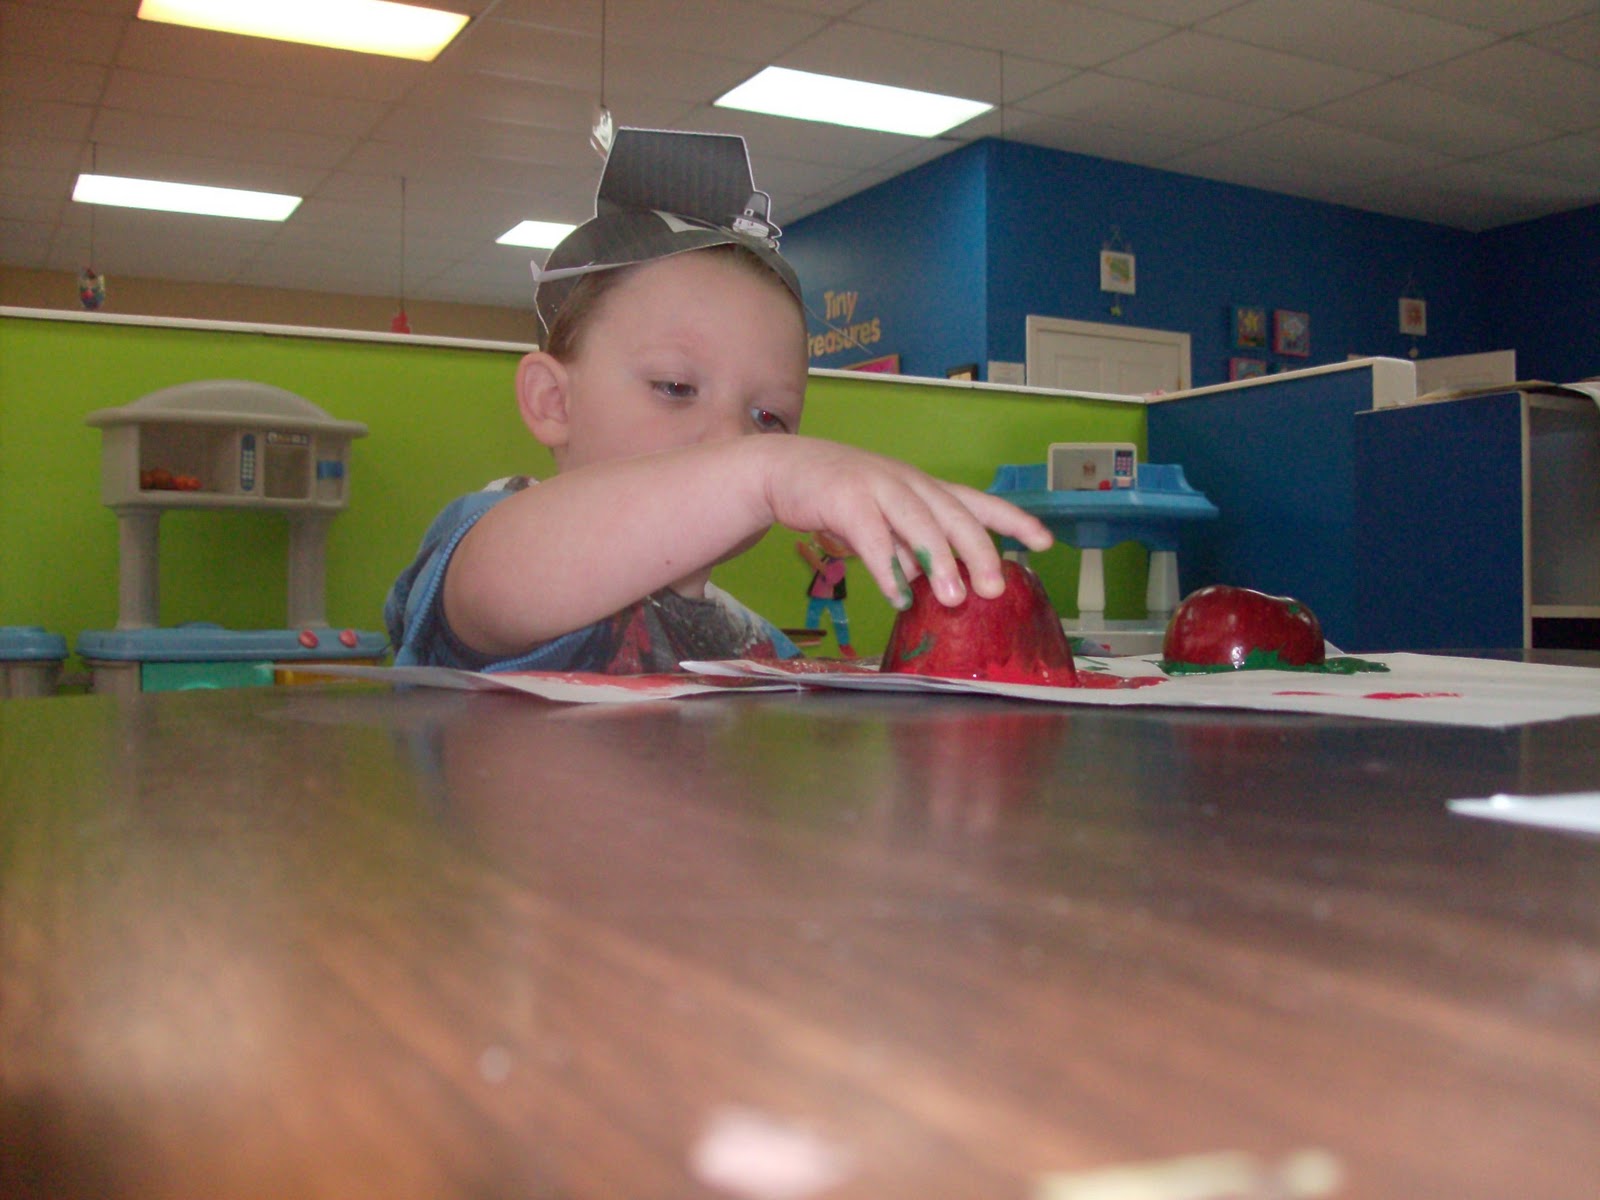
Apple Patterns

Amanda McGuyer's Apple Patterns

Items you will need:


1.) One apple per child
2.) Paint (at least two differnt colors)
3.) Knife
4.) Foam plate
5.) Strip of paper

Now cut the apple in half.


Next put one half of the apple in one color and the other half in the other color.


Finally, let children create patterns using the apples.


MOST IMPORTANT, PRAISE KIDS FOR A JOB WELL DONE!

Sunday, November 13, 2011

Melted Crayon Art Color Wheel

Supplies
·         Canvas (I used a 11x14)
·         Glue gun
·         Box of Crayola Crayons (I used one crayon of each color in the color wheel)
·         Garbage Bag or Old Towel (optional)


Instructions
While your glue gun heats up, pick out the color of crayons you are going to use in your color wheel. The primary colors are red, blue, and yellow. The secondary colors are orange, purple, and green.

Lay your canvas on a flat surface. You can lay your canvas on an old towel or garbage bag to prevent the crayons from getting on objects you don’t want them on.

In order to make a color wheel you will need to arrange the color of the crayons to be red, orange, yellow, green, blue, and purple. You can start with whatever color you want at the top of your canvas but the colors must remain in the order listed above to have an accurate color wheel.

Take the first color crayon in place in the glue gun. I recommend starting with one of the primary colors first.  Position the glue gun over the canvas where you would like to deposit the melted wax. Squeeze the glue gun handle to melt the crayon and cause the melted crayon wax to drip onto the canvas.  As the crayons melt move your glue gun to create the pattern you want on your page.


Repeat the last step over for each color of the color wheel until completed.


Remember Have Fun!! You are creating an unique piece of art!

Created by: R. Haley

Wednesday, November 9, 2011

Sarah S.

 The following activities are great for teaching symmetry to Kindergarten students!
Materials:
  • Fall theme cookie cutters
  • Playdough
  • Plastic knives
  • Orange paper plates
  • Black markers

Procedures:
Cookie Cutter Symmetry
  1. Students will pat out playdough.
  2. Choose a fall theme cookie cutter and then press the cookie cutter in the playdough.
  3. Remove the cookie cutter and the surrounding playdough.
  4. Use the plastic knife to cut the line of symmetry from the cookie cutter creation.


Pumpkin Face
  1. Give students a blank orange paper plate.
  2. They will use the black marker to create their own symmetrical pumpkin face.


Wednesday, November 2, 2011

3D Snake for 1st Grade

Materials
  • Construction paper cut into 1 inch by 8 inch strips
  • Glue
  • Pencil to write their names
Procedure - See who can follow directions

Ask questions about primary colors, shapes, and measurements.  Whoever answers questions correctly, gets to add links to their snakes.

Questions to ask:
  1. What are the primary colors?
  2. Find a rectangle in the room.
  3. What are the secondary colors?
  4. What 2 colors make purple?
They measured their snake to show form.
How tall?  How wide?  How thick?

Glue at the ends to form a snake
Start with the tail and write their name
Choose a favorite color group or create a pattern

Time Frame - 30 minutes

Outcome - Children loved it.  They were very excited about answering the questions.